
Welcome to this comprehensive guide on mastering Windows 11’s top features and enhancing your Windows 11 experience! Whether you’re a seasoned Windows user, a student, or an educator, this content is here to support your academic journey and elevate your digital experience. From protecting your eyes with Night Light Schedule to boosting productivity with Snap Layouts and Virtual Desktops, these tips and tricks will undoubtedly help you thrive in your studies and beyond. Let’s uncover the full potential of creating the best Windows 11 experience on your desktop.
1. Get Cozy with Night Light Schedule
Let’s start with a feature that’s easy on the eyes – Night Light Schedule. If you’re like me and spend long hours staring at your PC, you’ll appreciate this gem. Here’s how to activate it:
- Click Start
- Go to Settings > System > Display
- Choose Night light
- Slide Strength to your preference
- Toggle on Schedule night light
- Pick between Sunset to sunrise or Set hours (with custom times)*

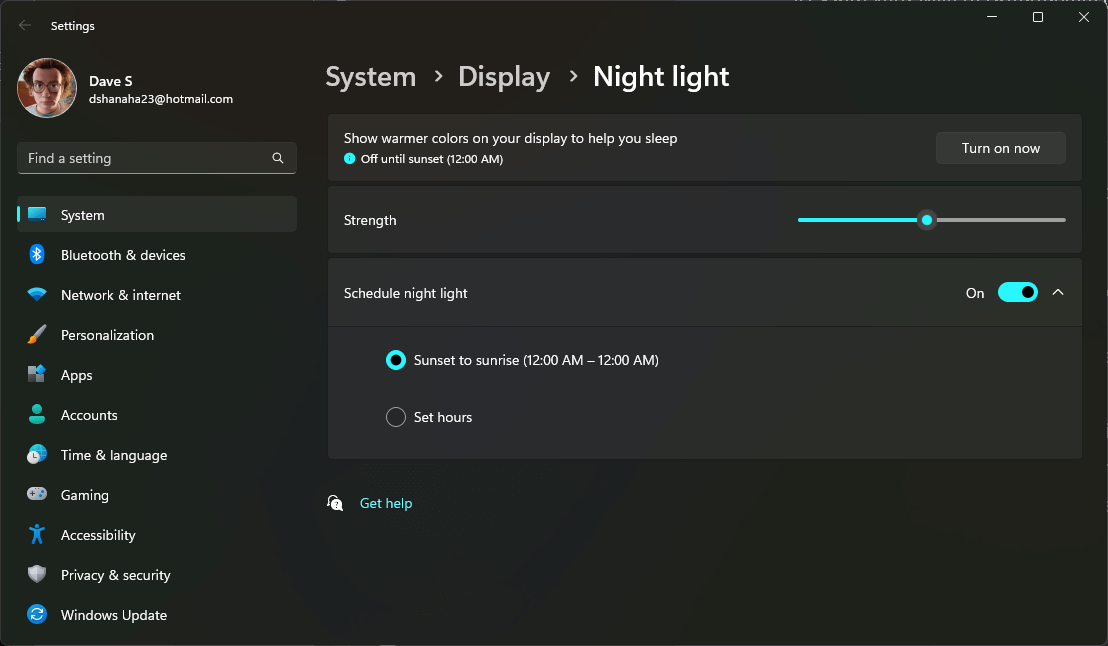
Remember, for Sunset to sunrise to work, turn on location services by clicking Location settings in blue and toggle On Location settings. Also, toggle On Let apps access your location. Then tap the left arrow in the upper right corner to get back to Night light settings. When you’re ready, hit Turn on Now. Say goodbye to those harsh, eye-straining lights!
2. Unleash the Power of Focus Mode
Ever get distracted by notifications while trying to work on something important? Fear not, Windows 11’s Focus Mode is here to save the day. Follow these steps to activate it:
- Click Start
- Go to Settings > System > Focus
- Choose your session duration
- Decide on additional preferences via the checkboxes provided

- Click Start focus session to start the focus session
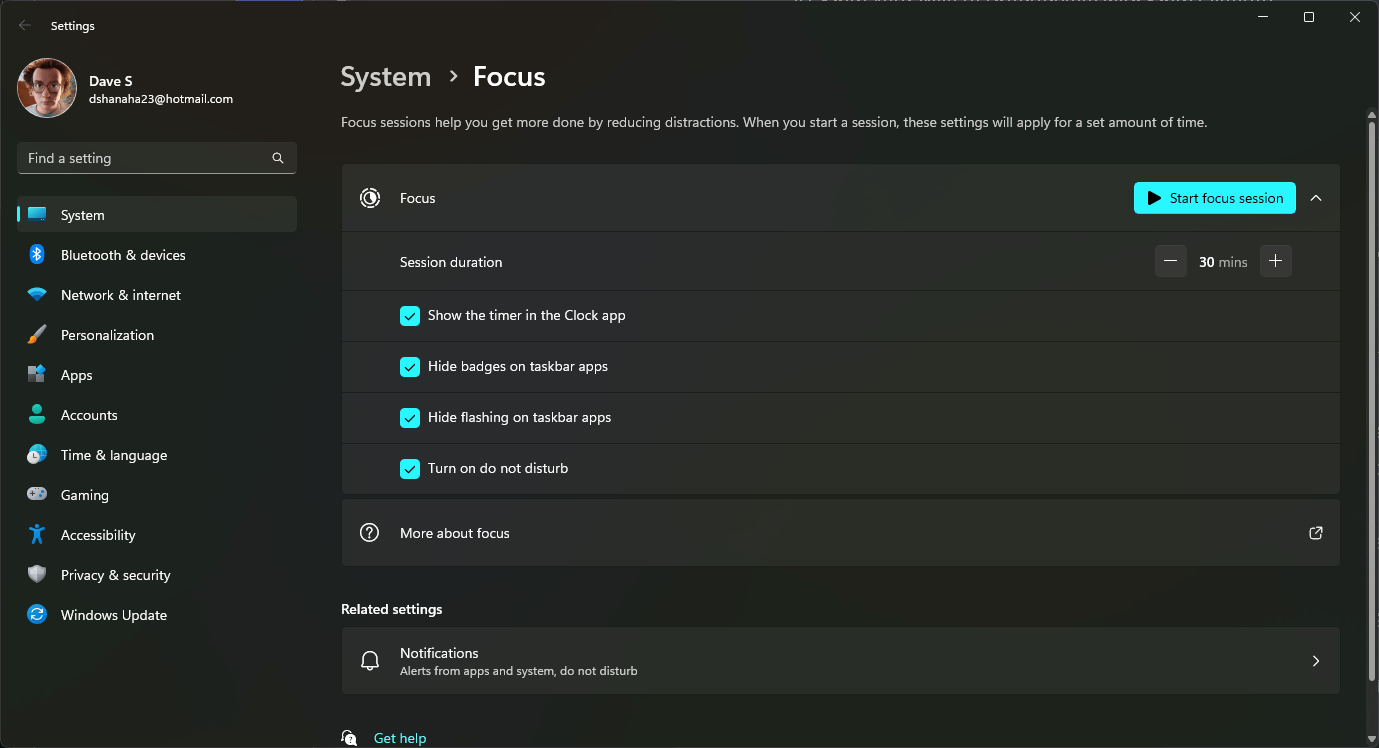
With Focus Mode, you’ll stay in the zone without those pesky distractions. You’re welcome!
3. Battery Life Saver: Screen and Sleep Settings
We all want to make the most of our laptop’s battery life, right? Adjusting your Sleep Settings can make a world of difference. Here’s how:
- Click Start
- Go to Settings > System > Power
- Scroll down and click Screen and sleep
- Choose your desired screen and sleep timing
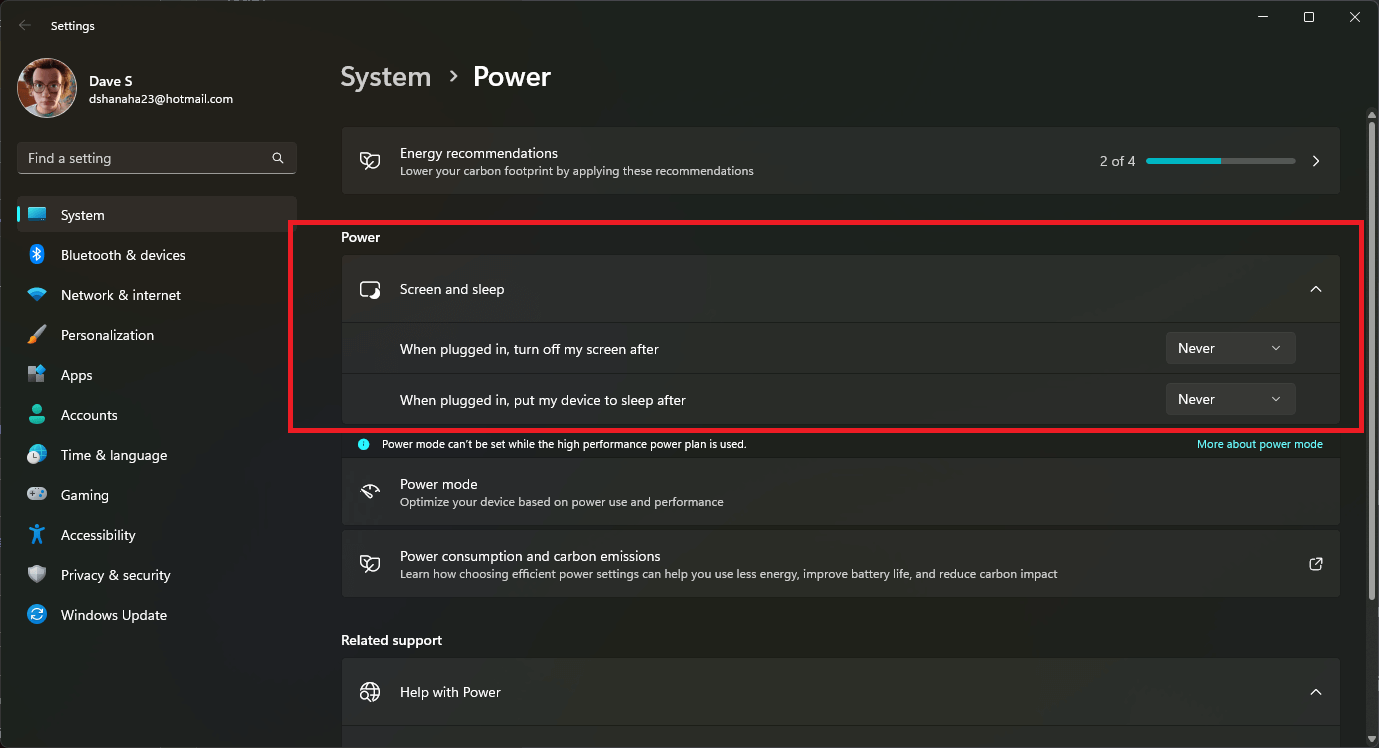
You can also customize each time frame by clicking the Never dropdown. Voilà, a little tweak for longer-lasting battery life!
4. Captivate with Live Captions
Live Captions bring subtitles right to your videos in real-time – a game-changer for anyone who needs them. Here’s how to enable and customize them:
- Click Start
- Go to Settings > Accessibility
- Scroll down and under Hearing, choose Captions
- Toggle on Live captions

- Customize your Caption Style using the dropdown box.
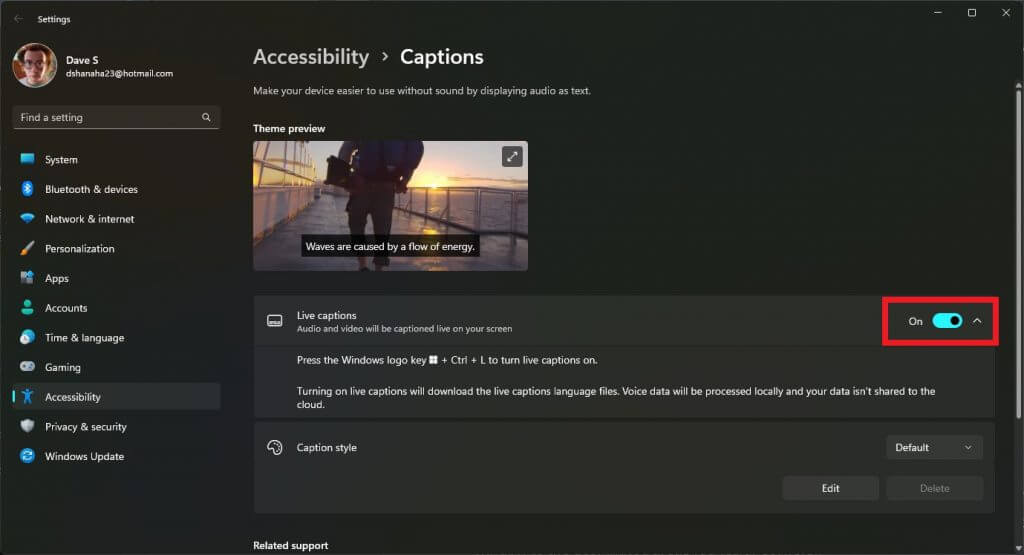
Enjoy videos with real-time subtitles – it’s like magic for your eyes!
5. Shield Your Privacy with Camera Protection
Camera protection is crucial in this age of cyber threats. Here’s how to safeguard your privacy:
- Click Start
- Go to Settings > Privacy & security
- Scroll down and select Camera under App Permissions
- Turn on Let apps access your camera
- Choose which apps can access your camera
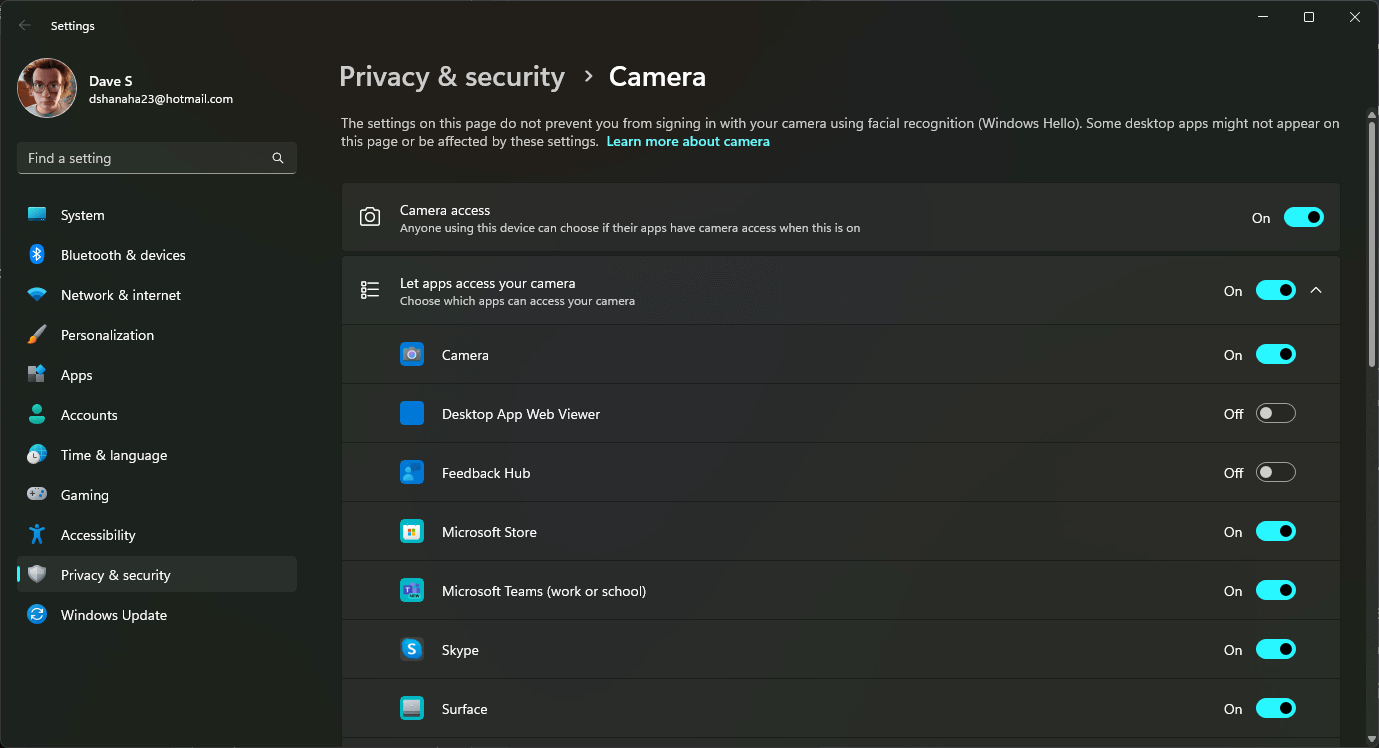
Now, you’re in charge of who gets to peek through your camera lens. Stay safe and secure!
6. Embrace Clipboard History
Say goodbye to the limitations of copying and pasting! Clipboard History lets you access multiple items you’ve copied or cut in the past. Here’s how to turn it on:
- Click Start
- Go to Settings > System > Clipboard
- Toggle on Clipboard History
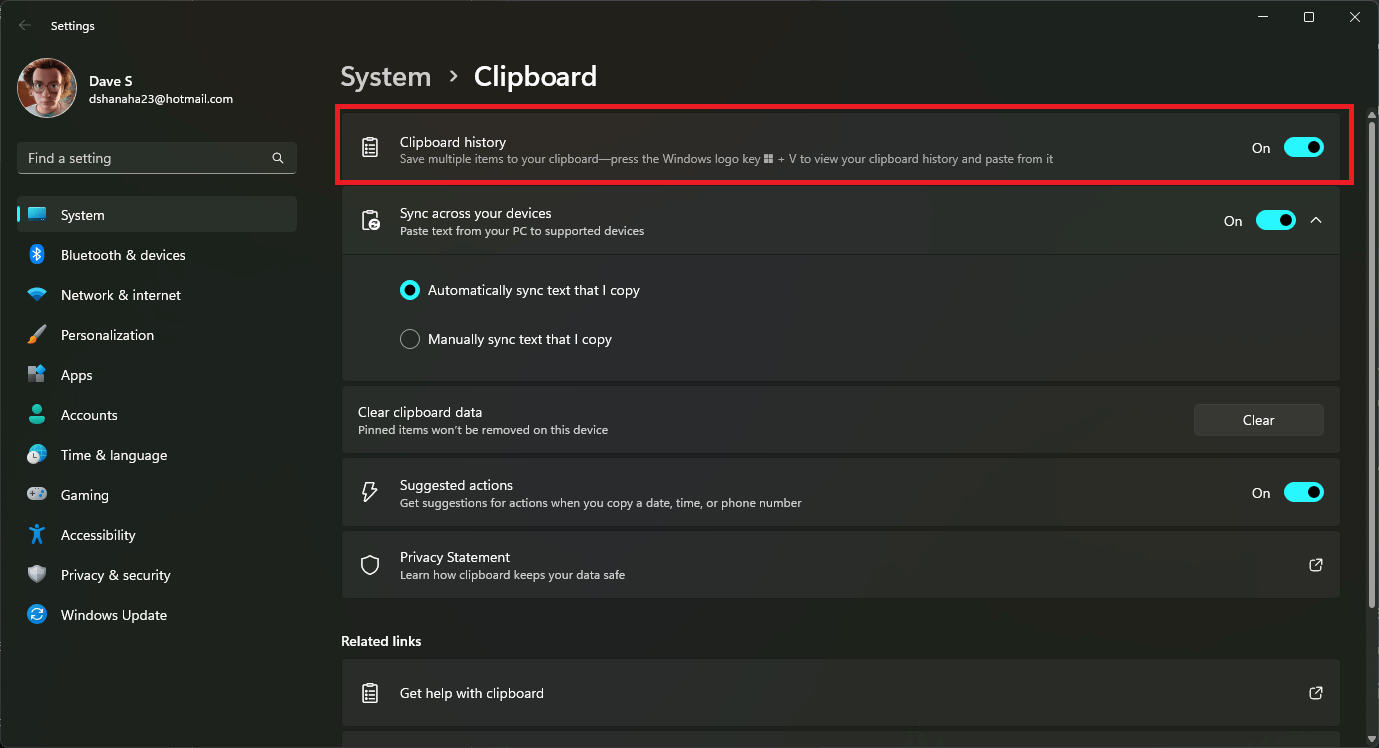
Now, press Windows key + V to view your clipboard history and paste away to your heart’s content!
7. Capture Brilliance with Snipping Tool
Need to capture the perfect screenshot or screen recording? The Snipping Tool’s got your back:
- Go to Start
- Search for Snipping tool or use the Snipping Tool shortcut to open the application directly: Windows key + Shift + S

- Click +New to start, and adjust the parameters for your capture
- Save or send your masterpiece

The Snipping Tool makes sharing and documenting a breeze!
8. Never Misspell Again with Autocorrect
We’ve all been there – those embarrassing typos in emails or social media posts. Let Windows 11 come to your rescue:
- Click Start
- Go to Settings >Time & language
- Click Typing
- Turn on Autocorrect misspelled words and highlight misspelled words
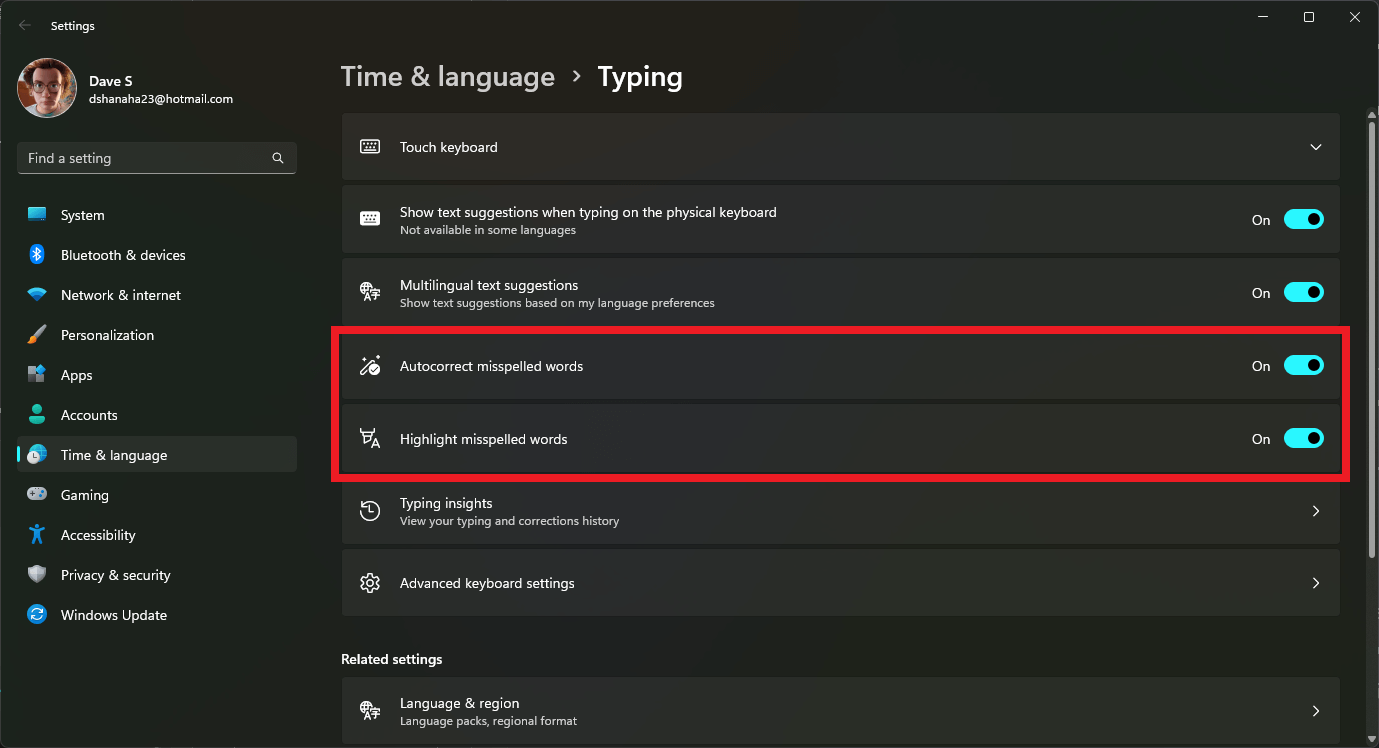
Now, you can type away with confidence!
9. Pointer Personalization – Find Your Cursor with Ease
Struggling to spot your cursor on the screen? Fear not, you can customize its size and style:
- Click Start
- Go to Settings > Accessibility
- Tap Mouse pointer and touch
- Choose a pointer style (white, black or inverted) or adjust the size to your preference
- Customize the color of the pointer
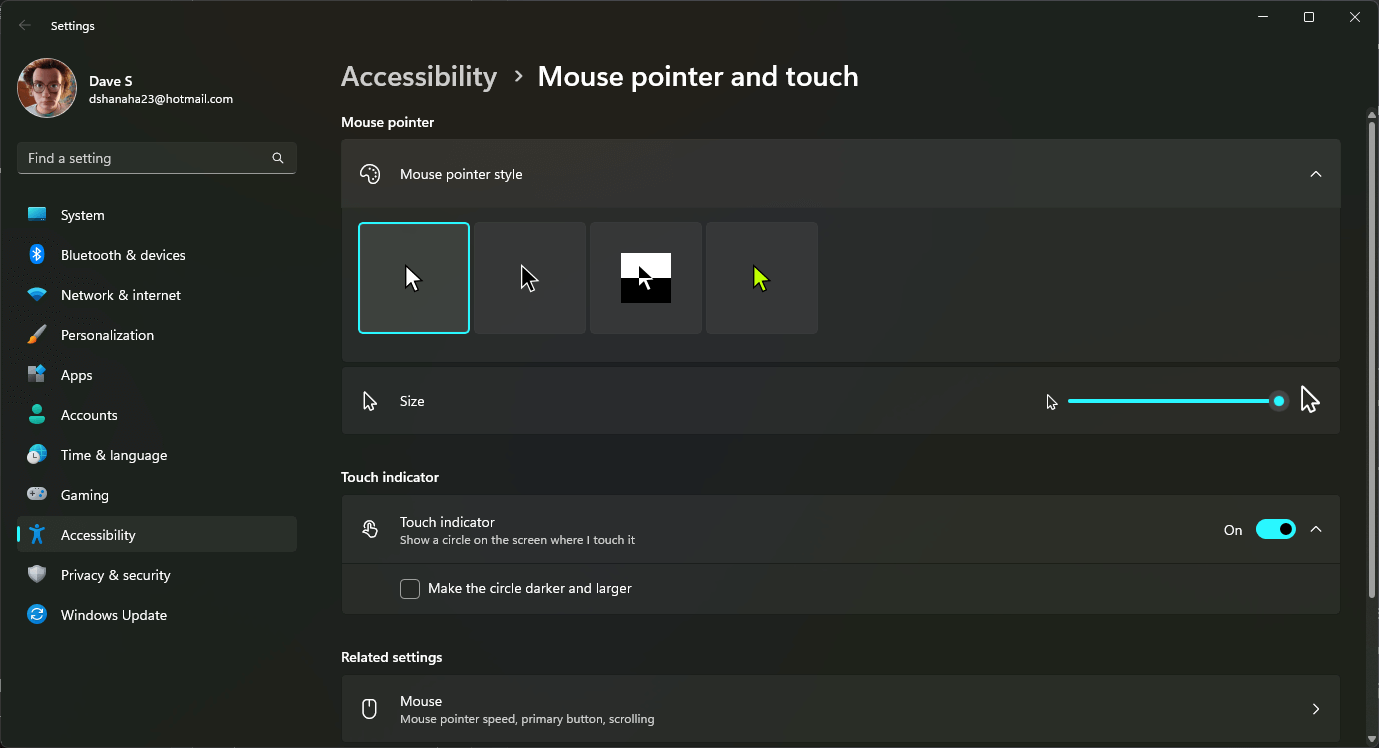
Now, your mouse will stand out, making navigation a breeze!
10. Snap Your Way to Productivity with Snap Layouts
Snap Layouts is a powerful feature that helps you arrange windows quickly and efficiently, boosting your productivity. Here’s how you can make the most of it:
- Click Start
- Go to Settings > System > Multitasking
- Toggle on Snap windows
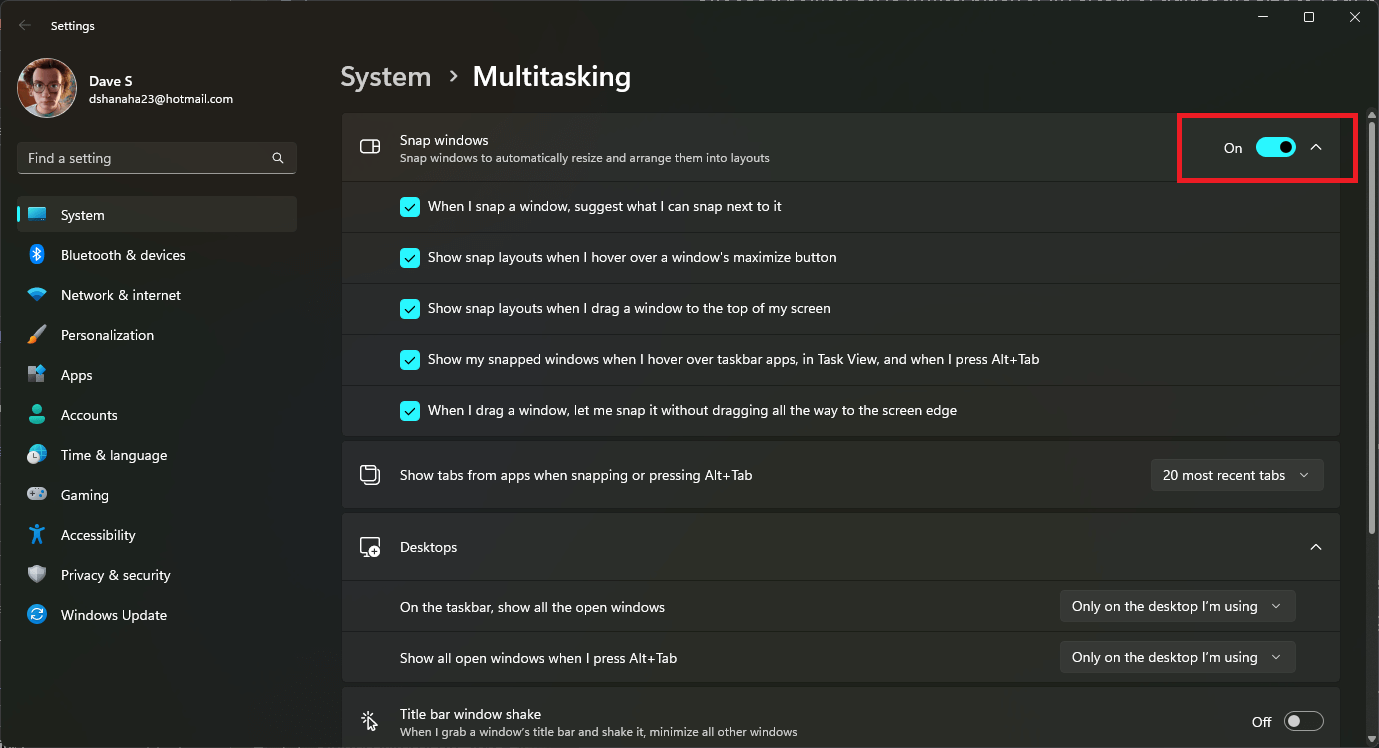
You can opt to turn on or off additional Snap window settings as you see fit. If you don’t use this feature or it conflicts with another program running on your desktop, you can always opt to turn it off too.
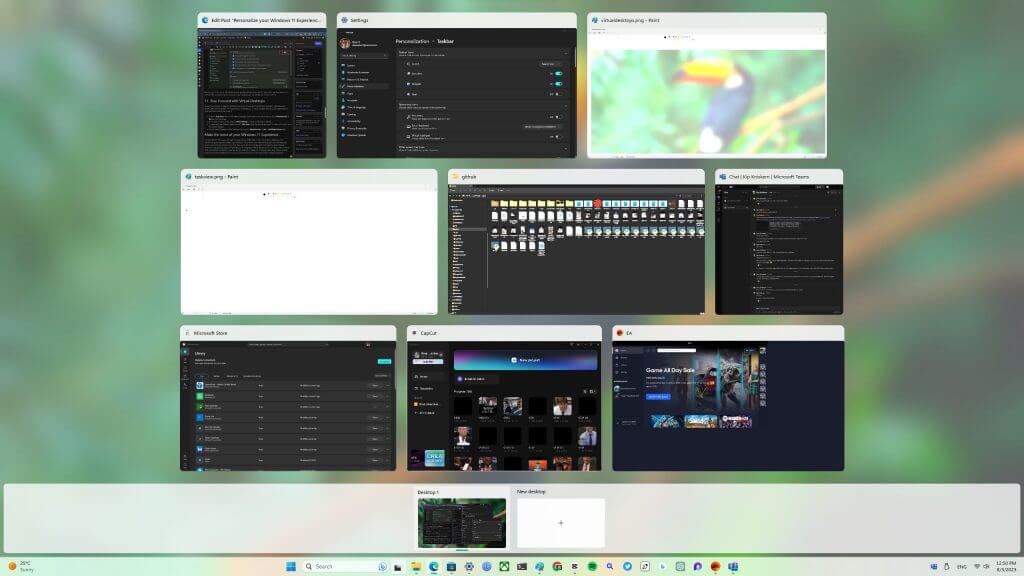
11. Stay Focused with Virtual Desktops
Virtual Desktops are an exceptional feature designed to keep you focused and organized, especially when dealing with numerous tasks and applications, enriching your Windows 11 experience. It enables you to create multiple desktops, each with its set of open windows. Here’s how to use it:
- Click the Task View icon
 on the taskbar (usually located next to the search bar) or press Windows key + Tab to enter Task View.
 - At the bottom right corner, click on New Desktop to create a new virtual desktop.
- To move windows between desktops, open Task View, drag the window you want to move, and drop it onto the desired desktop.
- You can switch between virtual desktops by using the Windows key + Ctrl + Left/Right arrow keys.

Make the most of your Windows 11 Experience
Make the most of your Windows 11 experience as you head back to school. By following the step-by-step instructions in this guide, you’ve not only learned how to optimize your workflow but also how to prioritize your well-being with features like Night Light Schedule, ensuring your eyes remain fresh and focused during those long study sessions. With Focus Mode, you can tame distractions and concentrate on your assignments, while Sleep Settings help conserve precious battery life for those hectic school days. The magic of Live Captions makes video learning more accessible, and Camera Protection and Clipboard History add an extra layer of privacy and convenience to your daily computing.
As you step into this new school year, Windows 11 stands as your reliable companion, supporting your academic endeavors and helping you stay organized, creative, and efficient, elevating your Windows 11 experience. Whether you’re in the classroom, attending virtual lectures, or pursuing individual projects, Windows 11’s top features are there to accompany you every step of the way. So go ahead, embrace the back-to-school spirit, explore further, and continue to discover more amazing features that Windows 11 has to offer. May your journey be filled with knowledge, growth, and a seamless Windows 11 experience. Happy computing, and here’s to a successful and rewarding academic year ahead!