Microsoft Designer is an intuitive graphic design web application that empowers users to create stunning graphics for various purposes, such as social media posts, invitations, and more. Whether you prefer utilizing AI-generated designs or building from scratch, this guide will walk you through the process.
Why should you use Microsoft Designer?
Here are a few potential reasons why you might consider using Microsoft Designer:
- Ease of Use: If the application is user-friendly and intuitive, it can be an excellent option for those unfamiliar with complex graphic design software.
- Integration with Microsoft Ecosystem: If you are already using Microsoft products and services, using Microsoft Designer might provide a seamless experience and better integration with other tools and platforms within the Microsoft ecosystem.
- AI Integration for Quick Design Generation: The AI integration, particularly with the DALL-E language model from OpenAI, can be a powerful feature that enables users to quickly generate design ideas based on simple text descriptions.
- Design Flexibility: Microsoft Designer offers a variety of templates, design elements, and customization options. It also provides users with the flexibility to create a wide range of graphics tailored to their specific needs.
How to Get Started with Microsoft Designer
Access Designer with a Microsoft Account:
- Microsoft Designer is an online tool accessed through your web browser. You’ll need a Microsoft account to use it.
- You can access the web application for free during the preview period. It’s unclear whether it will become a part of a Microsoft 365 subscription or remain free with limited functionalities.
- You can access Microsoft Designer here.
How to use Microsoft Designer
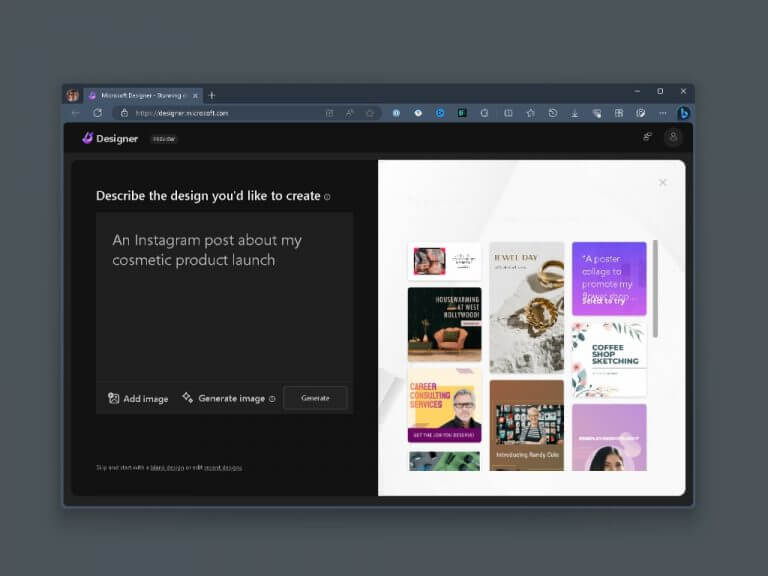
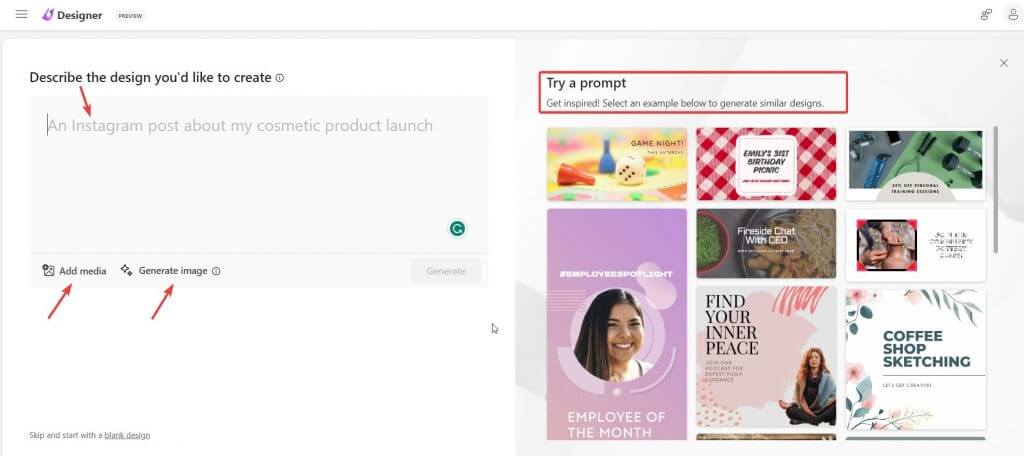
Input Descriptive Text or Add Media:
- After signing in, you’ll see a prompt box and graphics samples on the right. You can input descriptive text for your desired image design or click “Add media” to upload images.
- The “Generate image” option offers random suggestions for prompts. You can select one if you’re unsure about the design you want.
Refine and Customize the Design:
- On the right, you can choose a suggestion or refine your prompt until you get the desired design.
- Select your design and click the “Customize design” button to open it in the Microsoft Designer editor.
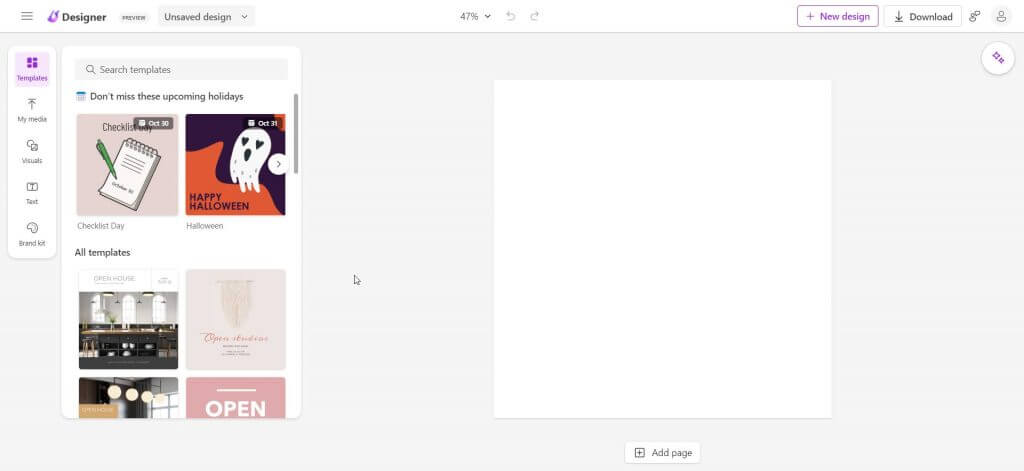
Edit the Design:
- In the main interface, you’ll find a toolbar at the top with various settings.
- The canvas offers tools to edit text, images, and more.
- The “Ideas” flyout on the right provides alternative design suggestions.
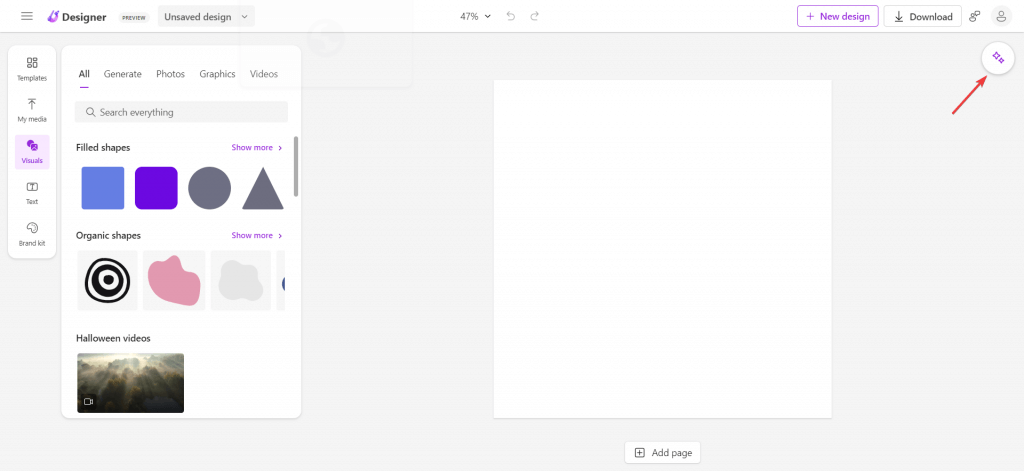
Use Design Tools:
- On the left side, you’ll find tools like “Templates,” “My media,” “Visuals,” “Text,” and “Brand kit.”
- “Templates” lets you change the design’s overall style.
- “My media” allows you to upload images from your device or online storage services.
- “Visuals” provides recommendations and allows you to use the DALL-E model for AI image creation.
- “Text” offers font-related settings.
- “Brand kit” offers color patterns and fonts for quick design changes.
Edit Design Elements:
- You can edit text by selecting a text block and using the contextual menu to change font styles, size, position, and more.
- Image tools allow you to modify the background, replace images, crop, rotate, and more.
- Use AI tools to remove objects or backgrounds from images.
Get Design Ideas:
- If you’re stuck on design ideas, click the “Ideas” button in the top right to use AI to generate a base design.
Save and Share:
- Once your design is complete, click the “Download” button to save it as a “.png,” “.jpg,” or “.pdf” file.
- Microsoft Designer keeps your designs in the cloud, accessible from the top-left menu.
Whether you’re using AI-generated designs or starting from scratch, this guide will help you make the most of Microsoft Designer. Let us know your comments in the section below.