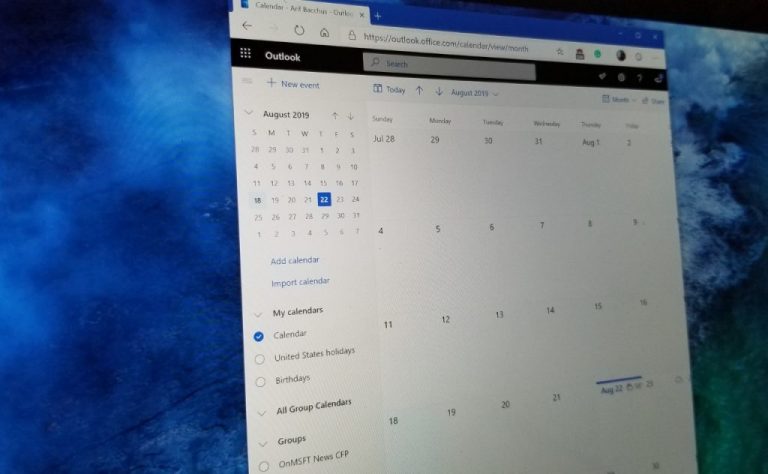
Long ago, the best way to keep track of appointments, meetings, and more, would be through a traditional planner on a physical desk or wall calendar. Though some might still prefer that, the Calendar app as part of Office 365 can also do the same, and even sync up across your devices. In this guide, we’ll take a look at some of the features in the Office 365 Calendar in the Outlook Web App, and showcase some of our favorite tips and tricks.
Try some keyboard shortcuts
We’ve already covered our tips and tricks for the Outlook app, but there are also some separate keyboard shortcuts you can use when navigating the Office 365 Calendar in the Outlook Web App. These range from going to the “today” view, opening an agenda, event, and more. We’ve collected some of our favorites below.
- Go to Today: Shift+Alt+Y / Home
- Search your Calandar: Alt + Q
- Go to previous time period: Shift+Left
- Go to next time period: Shift+Right
- Open Day view: Shift+Alt+1
- Open Work week view: Shift+Alt+2
- Open Week view: Shift+Alt+3
- Open Month view: Shift+Alt+4
- Open agenda in Month view: Shift+Alt+5
- Focus skip links: Ctrl+F6
Microsoft has a full list of keyboard shortcuts for Office 365 Calendar in the Outlook Web App here. On that same page, you’ll be able to adjust shortcuts based on which platform you’re most familiar with, such as Outlook, Yahoo, or Gmail
 .
.
Bring in your Google calendars to Office 365 Calendar in the Outlook Web App
If your company just made the move to Office 365, you might still have calendars on other platforms like Google. Well, if you’ve officially abandoned Google (and don’t plan to sync or log in to your old account anymore,) you can manually import the data to an Office 365 Calendar in the Outlook Web App.
The process is easy, just as we describe below. Keep in mind, though, that importing this method will only import your calendar just as it was when you last downloaded it. If you make later changes on Google, it won’t be synced to Outlook.
- Head to Google Calendar, and then visit the settings page from the cog icon
- Choose Import & Export from the list on the left
- Choose Export from the bottom part of the box on the right.
- Choose which calendars you want to download, and then let Google download it for you
- Manually extract the .zipped iCal file and look for the .ICS file. Save it.
- Open the web version of Office 365 Calendar
- On the left side, select the hamburger menu to pop out the mini calendar. Then, click Import Calendar
- Choose From File on the bottom
- Upload the .ICS file
- Choose which Calendar you want to import it to and then press Import to end.

Sync your old Google calendar, others with Office 365 calendar
The above method describes bringing in your old data from Google if you’re closing that account, but what if you want to bring in the data to Outlook Calendar in Office 365 and still actively sync it? Well, that’s easy, as you can see below.
- Head into Google Calendar
- Choose Settings and Sharing
- Choose Integrate Calendar
- Look under Secret Address in iCal format and copy the URL
- Head back into the web version of Office 365 Calendar
- On the left side, select the hamburger menu to pop out the mini calendar. Then, select Import and choose From web
- Paste the URL you copied earlier and press Import
If someone has shared a URL of their calendar with you, this method can be used to import it to your account and view their calendar alongside your own. It might also work for importing other calendar data from other services. Just come back to step 5 to get started.

Sharing your own Office 365 Calendars
Sharing is caring, and once you’re set up with Office 365, you might also want to share your own calendar. Doing so is easy, and all you’ll need to do is follow our steps below.
- Head to the web version of Office 365 Calendar.
- Press the settings cog on the top right
- Head down to View all Outlook Settings and click it
- Click on Calendar on the right
- Click on Shared Calendars
- If you want to share your own calendar, click Share a Calendar and choose the calendar. Then, enter the email of the person you want to share with.
- Change the permissions, if you want to view when busy, view titles and locations, view all details, or edit permissions.
As an alternative, you can also publish your calendar via a link. This link will let people view the calendar online, or download the ICS file for import (as we described above.) Just head to Publish a Calendar section for these settings.

Add multiple calendars, sports calendars
Now that you know you can sync your old calendar with the Office 365 Calendar in the Outlook Web App, you also can continue to add multiple multiple calendars. This could be a personal calendar with your time off, a work calendar with your meetings, or a sports calendar with your favorite sports team schedule.
Once you trigger the hamburger menu and mini calendar on the left, Simply press the Add Calendar button from the left side to get started. You’ll then notice a new text box created underneath your list of calendars. Click there to name and save it.
To add sports calendars, the process is different. You’ll want to click on Import Calendar from the left-hand side. You can then choose your team from the list. There’s a selection of NBA, NFL, NHL, MLS, Cricket, Golf, and Racing related items. Adding these types of calendars will not only show the date/time of sports events, but you’ll also get reminded before the sporting events start.

Change your theme, and try dark mode
Physical calendars come in different colors and themes, and the same applies to the Office 365 Calendar in the Outlook Web App. You can change its theme at any point to suit your own liking to alter the look of certain UI elements like the text, drop-down menu, as well as the date indicators. Simply press on the settings cog from the top of the screen. And then look where it says Theme. There are a bunch of pre-set options, but you can also press View All to see the entire gallery of themes. Our personal favorite is the “Bricks” theme.
While you’re there, you also can switch the toggle option for the dark theme. This might make your calendar easy on your eyes. As the name implies, most UI elements will turn a dark color.

What’s your favorite part of Office 365 Calendar in the Outlook Web App?
Naturally, we can’t cover all the tips and tricks for the Office 365 Calendar in the Outlook Web App in one post. There’s plenty more you can do. You can change timezones, date formats, the first day of the work week, and more. There are even options to set working hours, and birthday calendars, and the weather. Do you have a trick which we didn’t cover? Let us know in the comments below.