
If you own a small business, then generating reports, presentations, training materials, and newsletters are key to your day to day operations. With these types of materials, you not only can keep your employees engaged, but also your audience and customers. You might have already heard about using PowerPoint or other programs like Photoshop and Adobe InDesign for creating these things, but did you know that your Microsoft 365 subscription has a service that also can help out?
That’s right, with your Microsoft 365 Subscription you have access to Sway. This is an app from Microsoft Office that makes it easy to create and share interactive reports, personal stories, presentations, and more. In our latest Microsoft 365 guide, we’ll be going hands-on with the experience for you.
What is Sway?
Before getting into anything, we’ll recap what exactly Sway does for you. Sway lets you compile text, images, videos, and other content into an interactive online format. You’ll be able to use it to apply designer-created layouts and color schemes or let Sway suggest design elements that match your content. You also can search and import relevant content from sources, and then share your Sways on the web.
Sway is available online from the web or from the Microsoft Store in Windows 10. It’s free to use for anyone with a Microsoft Account. However, you can create some more advanced Sways when used with a Microsoft 365 Subscription. You can learn more about that here.

Creating a Sway from a topic or template
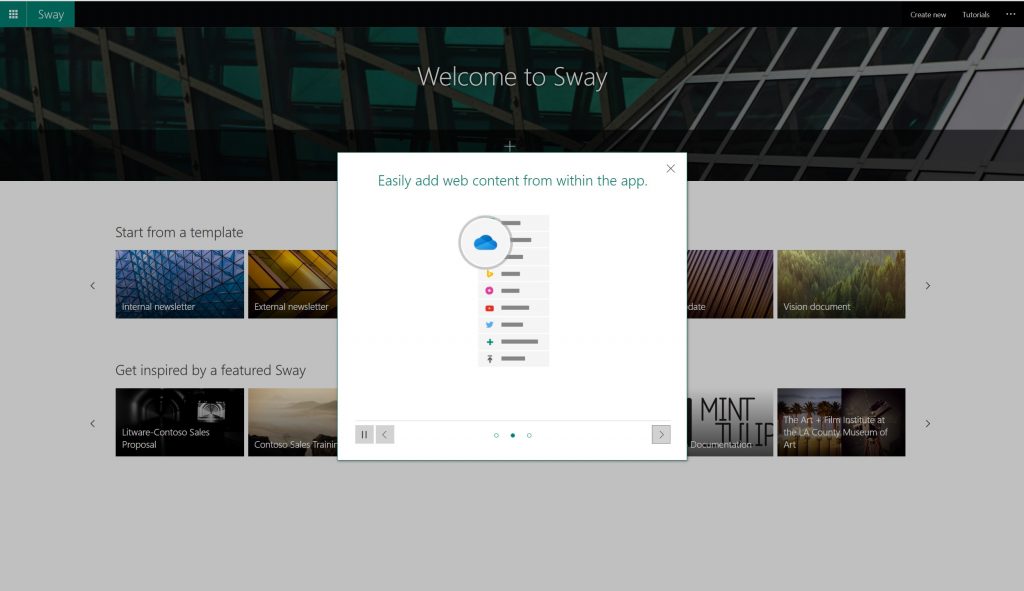
Once you head into Sway on the web, you’ll be able to create a new one from scratch, from an existing file, or a topic. You can click the Create New button to get started with a new Sway from blank. For most novices, though, we recommend starting from a template. For other things like a report, you can start from a topic by clicking Start from a topic. With this option, Sway provides base content for you, powered by Wikipedia.
You can also choose from a variety of common templates such as internal newsletter, external newsletter, How-to, vision document, status update, resume, and more. Scroll through the list with the arrow key. Once you find the one you want, you can edit the template by clicking Start editing this Sway.
If you create from a topic or template you’ll see various pre-populated sections, similar to a Word document or a PowerPoint. You can edit these by clicking on each card or image to put in your own content. When you finish, you can preview the Sway by clicking the Play button at the top. You also can change things around by clicking the Styles tab under Design to change text boxes to different styles for a more unique look. We’ll have more on that later.
Creating a Sway from scratch

Next up, there’s creating a sway from scratch. If you choose to go this route, you need to be aware of a couple of things. These include: the Storyline, the title, and adding content. We’ll get started by explaining the Storyline, first.
In Sway, the Storyline is where you’ll edit, type, and insert content. The Storyline is organized by cards, and each card has different purposes and content types. These cards include text, images, videos, and also Office documents. You can upload your own images, or you can search for sources using the search box directly within Sway. Just click the Insert button at the top right corner of the screen.

The first card in the Storyline will always be the title. Be sure to make this one stand out. You can drag images saved on your device into the Sway title by clicking and dragging them in from the original location.
Next, there’s your content. You also can add new elements and content to the Storyline by clicking the green + button underneath any previous card. The different types of elements you can add to a Sway can be seen below. We suggest playing around with these as you add them, as each type of content changes the way a Sway looks.
- Heading
- Text
- Images
- Stack of Images, Text
- Videos
- Audio
- Embed an item
- Stack of images, slideshow of images, grid of games, and more.
Once you add a card, you can delete it at any time by clicking the trashcan icon in the top right corner of the card. You also can drag storyline cards up and down by clicking and dragging it around, if you need to reorganize things.
Design in Sways
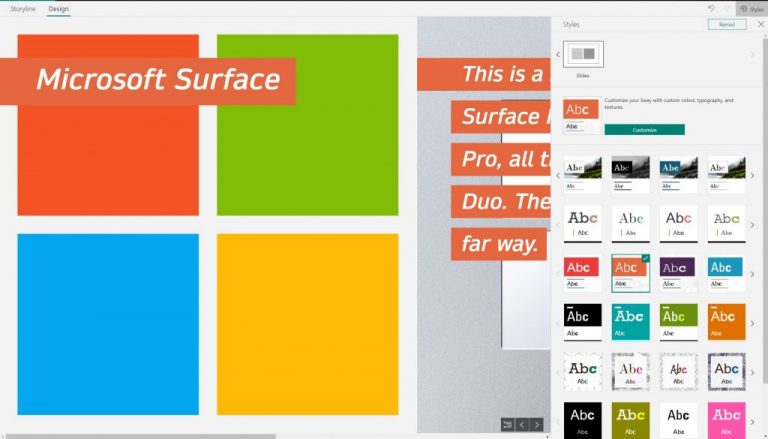
Continuing along, there is another important area to Sway, The Design. This is accessed by clicking the Design tab when editing a Sway. From here, you’ll be able to select designs and layouts. There are various designs to choose from.
Each design will change your backgrounds and text boxes to a different theme. You can cycle through the list to pick one, and then choose the Customize button to change it as you see fit. That customize option will let you adjust a specific part of the currently applied theme, such as color, font choices, and the emphasis of animation.
The Style, meanwhile, can be changed from vertical, horizontal, or slides. These will change how your content scrolls as the user scroll through your content.
Once you’re satisfied with a design, you can preview your way by clicking the Play button on the top menu bar. This will allow you to experience your sway just as the viewer would.
Sharing your Sway and more
Once you design a Sway, the final thing to do is to share it. When shared, your family can view it without signing in or downloading. To share, just click the Share button in the top navigation bar and copy the URL. You can choose three ways to share, with specific people, only within your organization, or anyone with a link. You also can copy an embed code and embed it in a blog, as we have done above. If you’d like you also can add a password to the Sway to protect it. You can learn more about sharing Sways at Microsoft by clicking here.
We hope that you found out guide to Microsoft Sway helpful. If you’re still looking for more information on how to get started with Sway, you can check out Microsoft’s support website, here. Do you like Sway? Get creative, and let us know how Sway works for you by dropping us a comment below.