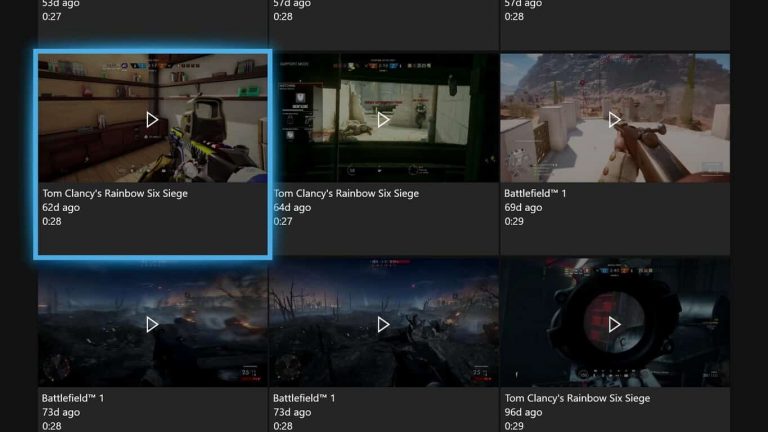
I’d like to think that in response to what’s quickly become the “game to beat” this year, in Red Dead Redemption 2, Microsoft has decided to up the amount of DVR storage space users can use to record their favorite ‘cinematic’ follies and gunslinging shenanigans.
The reality, however, is that Microsoft’s timing appears to be coincidental happenstance to a long requested feature by users.
According to Xbox director of programming and ambassador Larry Hryb’s Twitter account, users will now have access to x2 the storage space as before, with a caveat.
New changes to Captures (GameDVR) means x2 storage space for all! Existing clips older than 90 days w/o views will be deleted, as will new clips unviewed after 30 days. Learn how to backup your favorite Captures here https://t.co/kY1lPuQYCS
— Larry Hryb ????✨ (@majornelson) October 29, 2018
The move to reduce server space being held by clips that no one is watching or using makes sense and Hryb also links to a step-by-step process a user can take to make sure they never lose their most nuanced footage, in lieu of the upcoming purge.
For the sake of time and effort, we’ve included the process below.
Upload captures from Xbox Live to OneDrive from your console
- Press the Xbox button to open the guide, then go to Broadcast & capture.
- Select Recent captures > See All.
- Select the list view button on the right to display your captures in a list.
- Select the check box next to the captures you want to upload.
- Select the Upload to OneDrive button to begin uploading.
Upload captures from Xbox Live to Google Drive from your PC
- Open the Xbox app on your PC.
- Sign in to the app using your Microsoft account.
- Select the Captures icon on the left menu panel.
- Select On Xbox Live to view captures you’ve uploaded to Xbox Live.
- Select the Download button to download the captures locally to your PC. These will be stored in the Videos folder on your C drive.
- Upload your local files to Google Drive or another storage location.
Record captures directly to an external drive from your console
- Note Captures recorded to an external drive can’t be uploaded to Xbox Live from your console. To upload from an external drive to Xbox Live, follow the steps for uploading from a PC.
- Plug a USB 3.0 (or faster) drive into your console.
- Note The USB drive must be formatted as NTFS. You can’t use the same drive that games are installed on, which is formatted differently.
- Press the Xbox button to open the guide.
- Go to System > Settings > System > Storage.
- Go to your external drive and select Set as capture location.
- Your game clips and screenshots will be recorded to your external drive. To revert, set your internal drive as your capture location.
Even if the timing of Microsoft’s expanded DVR storage is purely coincidental, it does come at a time when gamers are sure to appreciate the addition as they rack up clips on the latest Call of Duty, Forza 4, Red Dead Redemption 2 and Fallout 76 this season.


