How to Take a Screenshot in Windows 10
![]() 3 min. read
3 min. read
![]() Updated on
Updated on
Share this article
This article is translated in


Improve this guide
Read our disclosure page to find out how can you help Windows Report sustain the editorial team Read more

Taking a screenshot is always useful. You never know when you might need to capture your screen image. And in Windows 10, taking a screenshot is not much more complicated than in previous versions of Windows. Here are a few methods that you can use to capture a screenshot in Windows 10.
Methods to take a screenshot in Windows 10
1. Press Print Screen on your keyboard
Probably the fastest way to create a screenshot in Windows is to press the Print Screen key on your keyboard. Pressing this button will automatically capture the current scene on your screen and you’ll be able to save the picture through some picture-editing software, like Paint. Here’s exactly what you need to do:
- When you want to make a screenshot, press Print Screen key on your keyboard
- Open Paint and go to Paste
- If you want to, you can crop your image or edit it
- Go to Save, name your screenshot and save it to a desired location
This is probably the most common way of taking a screenshot in Windows operating systems, but you can try some other way if you prefer.
2. Use Microsoft Snipping Tool
Using Windows’ built-in Snipping Tool is probably the fastest way of capturing a screenshot in Windows, but it’s not as popular as using the Print Screen key. To take a screenshot with Snipping Tool, do the following:
- Go To Search, type snipping tool, and open Snipping Tool
- Go to New
- Mark the part of the screen you want to capture with a rectangle
- Go to Save Snip
As we expect Snipping Tool to receive the first update since its introduction in Windows 10, you will have even more options of taking a screenshot.
3. Use a screenshot taking tool
You can also use some third-party software for taking screenshots, but since Windows itself offers a couple of options for this, using third-party software is not necessary, and I recommend you to stick with the methods I showed you above.
But if you’re still seeking for a useful tool, Loom appears to offer the best value for the money. You may record and edit your videos and pictures in addition to record internal audio.
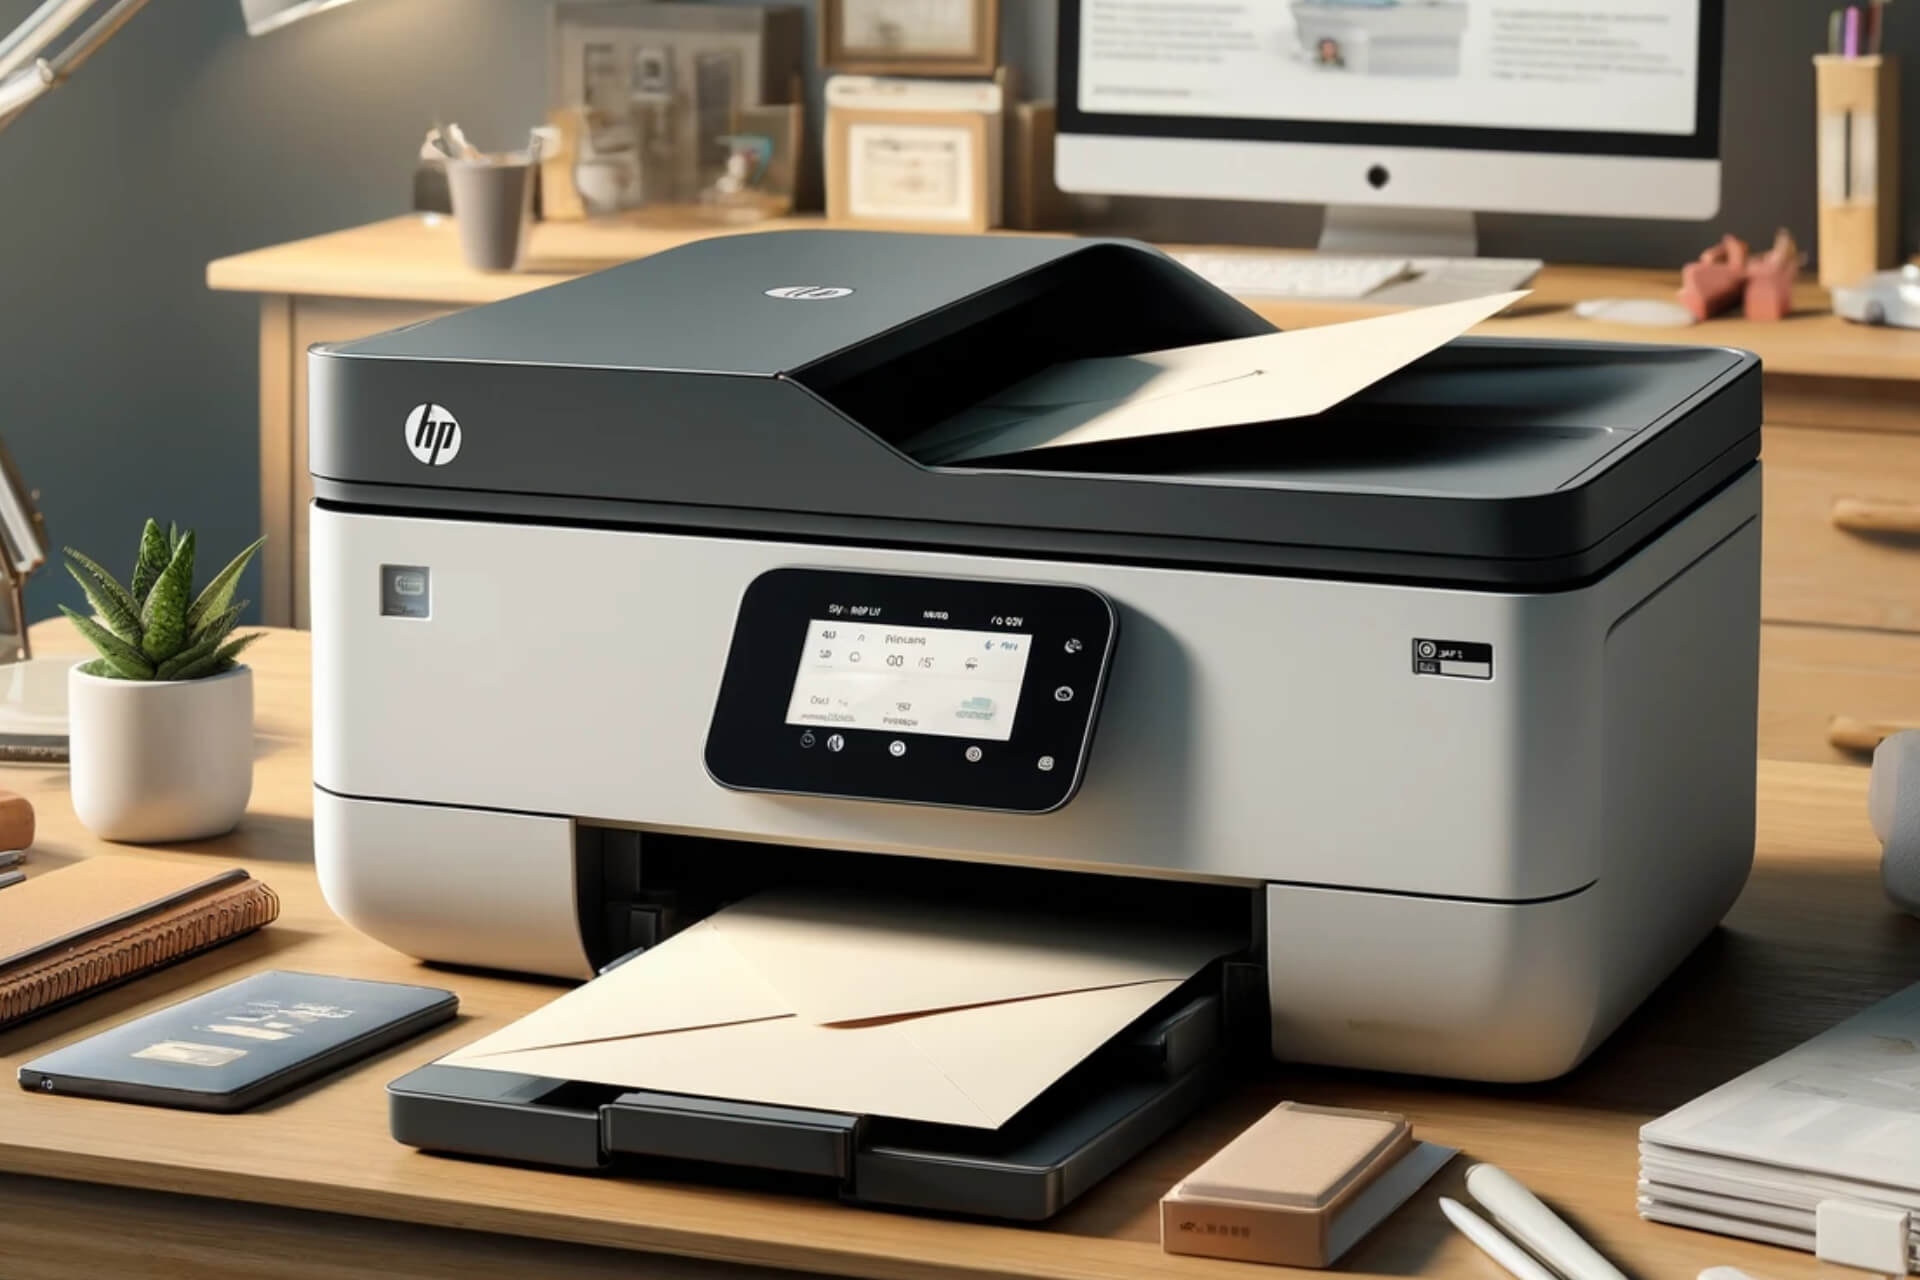
How to take screenshots on HP laptops
Taking a screenshot on HP laptops is not that straightforward. On most HP laptop models, hitting the Print Screen key is not enough. In order to take a screenshot on your HP computer, you need to press the Fn key and the Print Screen key at the same time.
How to take screenshots on Dell and Asus laptops
On particular Dell and Asus computers, you need to use the same method described above in order to take a screenshot. So, press the Fn key and the Print Screen key at the same time to capture your screenshot.
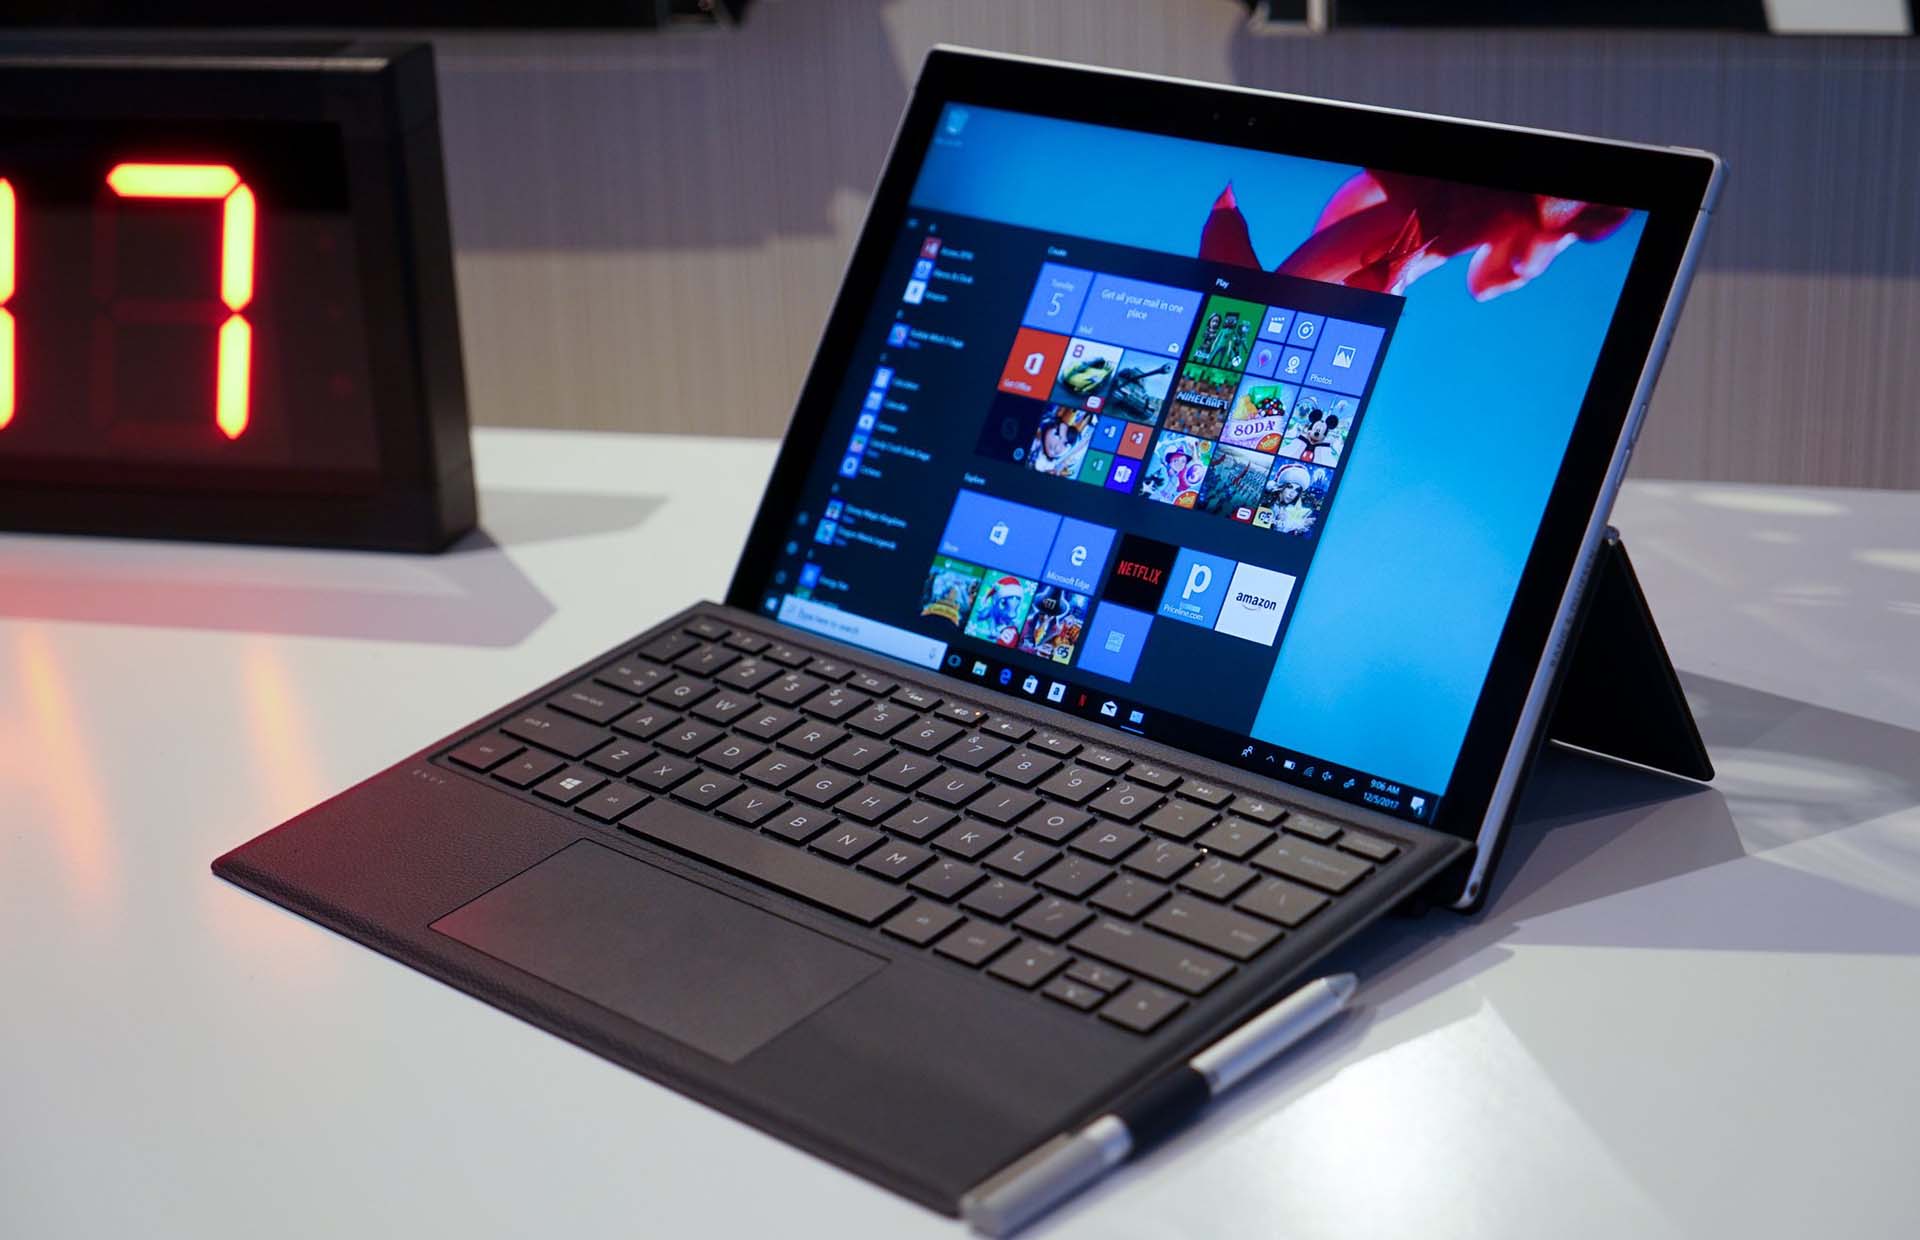
How to take a screenshot on your Windows 10 Surface device
There are several methods that you can use in order to take a screenshot on your Microsoft Surface device.
- Press the Windows logo located in the front of the device and push the volume down button
- Press the Windows key and the Print Screen key
- Press the Alt and Print Screen keys to capture only the active window
- Press the top button of your Surface Pen twice.
There you go, this is how you can take screenshots on your Windows 10 devices.