How to check your BIOS boot time in Windows 10 (and what it means)
![]() 2 min. read
2 min. read
![]() Published on
Published on
Share this article

Improve this guide
Read our disclosure page to find out how can you help Windows Report sustain the editorial team Read more
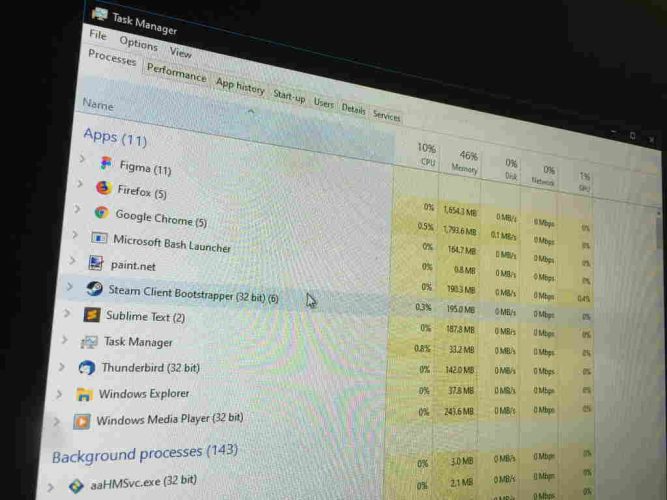
Windows 10’s Task Manager (first shipped with Windows 8) includes the ability to view the “last BIOS time” of your system. To see it, first launch Task Manager from the Start menu or the Ctrl+Shift+Esc keyboard shortcut. Next, click the “Startup” tab.
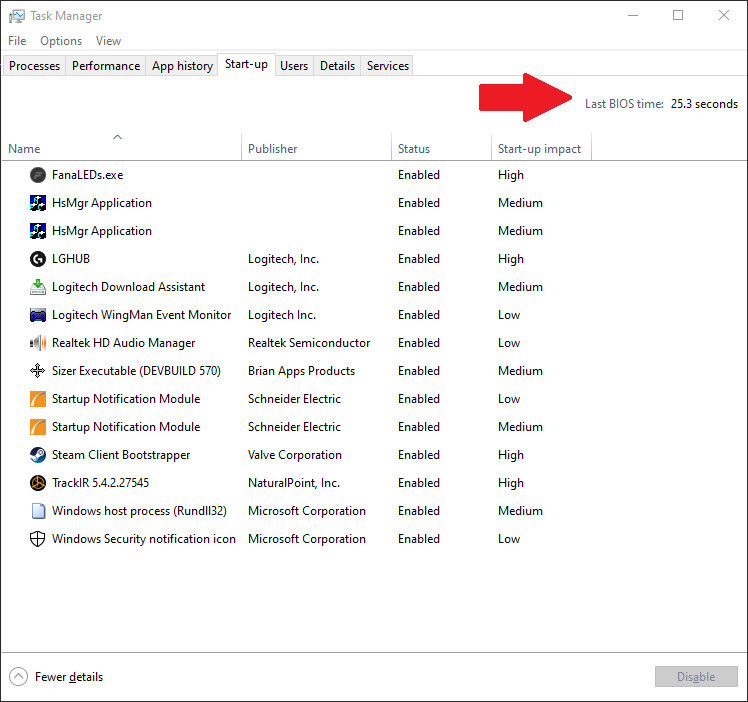
You’ll see your “last BIOS time” in the top-right of the interface. The time is displayed in seconds and will vary between systems. A blank space means your motherboard’s firmware doesn’t expose this information, so Windows can’t display it.
This figure isn’t directly related to the Windows boot time. Instead, it refers to the time that elapsed while your motherboard’s firmware completed hardware initialisation. The timer stops when Windows begins booting.
Most modern hardware will display a last BIOS time somewhere between 3 and 10 seconds, although this can vary significantly depending on the options set in your motherboard’s firmware.
A good place to start when lowering last BIOS time is to look for a “fast boot” option in your motherboard’s UEFI. Turning it on can significantly improve boot speeds. You could also try disabling any artificial startup delays which might be activated, such as an enforced delay while the manufacturer’s logo is shown.
You should be able to find information about your device’s UEFI firmware options in the manual or on the manufacturer’s website. In some cases, simply upgrading the firmware may be enough to resolve hardware issues and improve startup speed.